How to accept Google Pay donations for your nonprofit
A practical walkthrough for nonprofits on how to accept Google Pay donations: enable the Android wallet through Stripe, add it to your embedded giving widget and tap-to-pay kiosk, and lift mobile conversion.
Last updated July 2026 by Fatih
Quick answer
To accept Google Pay donations, use a donation form on a processor that supports it, such as Stripe. The Google Pay button then appears on its own for donors using Chrome or an Android phone with a saved card, and stays hidden for everyone else. In person, any contactless reader accepts a tap from an Android phone. On Givebear, both the online form and the kiosk take Google Pay.
Key takeaways
- Donors do not need an account with your organization to pay with Google Pay.
- Google Pay works for one-time and recurring gifts.
- Wallet checkout removes card typing, which matters most on phones.
Who this is for: Nonprofits and ministries whose donors give primarily from Android phones and want a one-tap mobile option; Churches, mosques, and synagogues running in-person collections that need wallet payments on a lobby kiosk; Event and campaign organizers who want to cut card-entry friction at the donation page
Google Pay lets a donor on an Android phone or in Chrome pay with a card already saved to their Google Account, so giving becomes a single tap and a fingerprint or face check instead of a typed-in card number. For your organization, that removes the slowest, most abandoned step in the donation flow. Givebear shows Google Pay through Stripe on the embedded giving form (/sdk/givebear.js) and accepts it as a tap on the kiosk, whenever the donor's device supports it.
Setup is mostly a matter of turning the wallet on and letting Stripe handle eligibility. Once your organization completes Stripe Connect onboarding inside Givebear, Google Pay is enabled as a payment method on your connected account and appears next to card and ACH options. There is no separate Google merchant integration to build: Stripe checks the donor's device, browser, and saved cards and shows the button only when it will work. The gift still goes to the fund the donor selected.
Google Pay and Apple Pay solve the same problem on different phones, so enable both rather than choosing. On Givebear the same giving form and the same kiosk accept whichever wallet the donor carries, plus a plain card. Givebear charges a flat platform fee from 1.9% to 5.9% depending on plan (one rate online, at kiosks, and on memberships), plus Stripe card processing at cost, with no setup fee and no monthly minimum.
What does the donor experience look like?
When an eligible donor opens your Givebear giving widget in Chrome or on an Android device with a card in their Google Wallet, the Google Pay button appears at the top of the payment options. They tap it, confirm with their device unlock, and the gift goes through with no card number, billing address, or account.
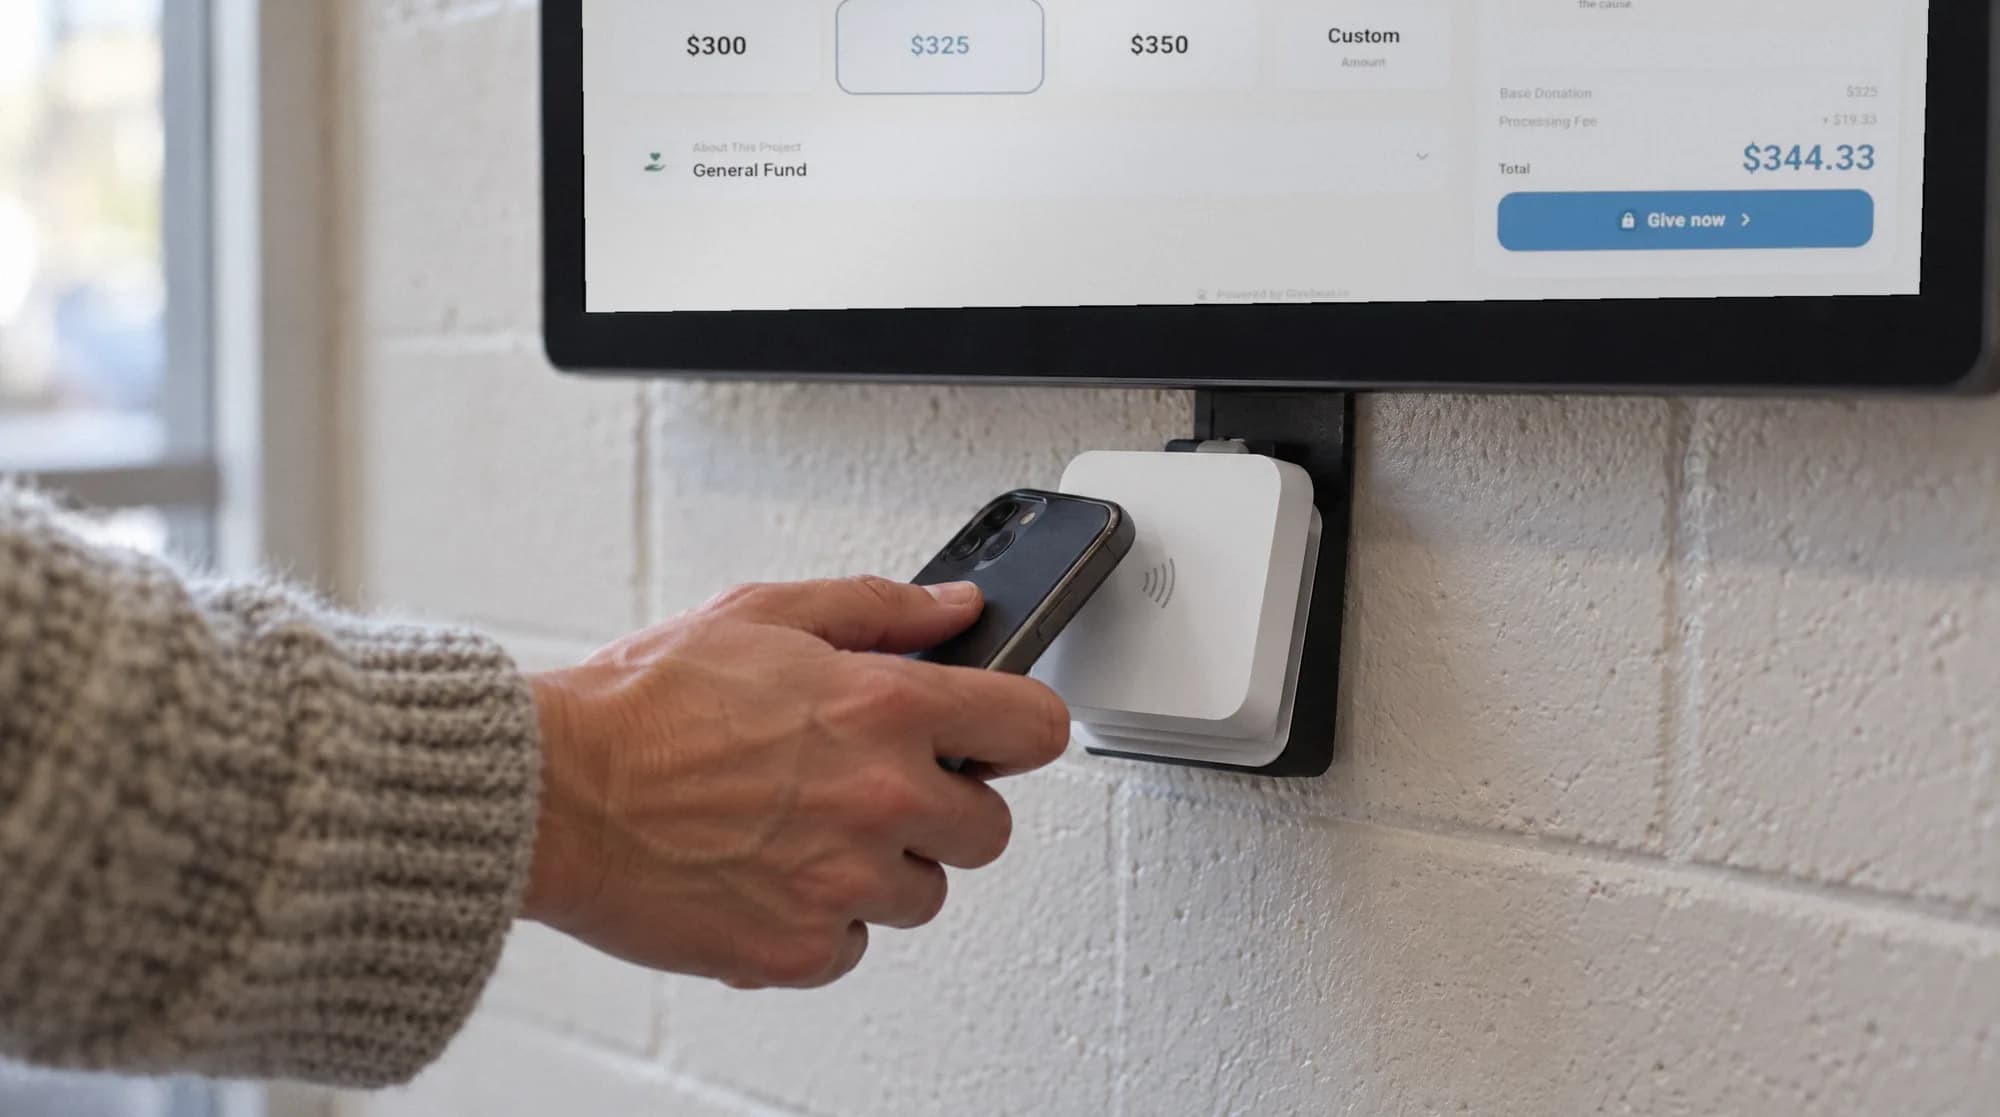
On the kiosk, the donor chooses an amount and fund on the screen, then taps a phone or smartwatch on the reader. Google Pay, Apple Pay, and physical cards all work at the same tap point, so your greeters never have to explain which wallet is supported.
How to enable Google Pay in Givebear
Connect your organization to Stripe through Givebear's onboarding, which provisions your connected account. Google Pay is enabled as a payment method on that account, so once onboarding is complete the wallet is live in your widget and kiosk without extra code. Stripe will only display the button to donors whose device and browser meet its requirements, which prevents broken buttons for unsupported users.
Add the giving widget to your site with the standard /sdk/givebear.js snippet and Google Pay rides along automatically. For in-person giving, the kiosk arrives with its reader already set up. Because Stripe owns wallet eligibility, you do not maintain a Google Pay API key or merchant ID yourself.
Why do wallets lift donation conversion?
Google Pay collapses card entry into one tap backed by a saved card and a biometric confirmation, which is why wallet checkouts typically convert better on mobile than manual card entry. The biggest source of abandoned online donations is the card-entry form: small fields, typos, and second thoughts during a 20-second task.
Enabling Google Pay alongside Apple Pay means you meet donors on whichever phone they already trust. For organizations that depend on spur-of-the-moment generosity, at an event, after a sermon, or from a shared link, removing those seconds of friction is often the difference between a started gift and a completed one.
Practical use cases
- A donor scans a QR code to your giving page on an Android phone and completes a recurring gift with one Google Pay tap
- Guests at a fundraiser tap a phone or watch on the kiosk at the door
- A restricted building fund link is shared in a newsletter and Android donors check out without typing a card
Key features
- Google Pay shown automatically by Stripe on the giving form, and accepted as a tap on the kiosk
- No separate Google merchant setup: wallet eligibility, device checks, and saved-card logic handled by Stripe
- Donations route to your connected Stripe account and the specific fund a donor selects, including restricted funds
- Recurring Google Pay gifts, not just one-time, for sustained monthly giving
- Email receipts after each gift
- The same checkout also accepts Apple Pay and cards
Common questions
Do I need a separate Google Pay account to accept donations?
Which devices and browsers show the Google Pay button?
Can donors set up recurring gifts with Google Pay?
Does Google Pay work on the donation kiosk too?
Are Google Pay donations tax-deductible and receipted?
More in Guides
Keep reading
See it with your own funds.
Book a 30-minute walkthrough. No slides and no hard sell: we set Givebear up around how your organization already gives.
- Your funds, set up the way your treasurer reports them
- Where a kiosk would go, and what it costs
- The reports your board will actually see
Rather set it up yourself? Start free
Loading available times
Or open the booking page